
- Needle felting
- Wool roving
- Felting needle
- Foam pad
- Three-dimensional shapes
- Designs
- Raw materials
- Craft store
- Simple shapes
- Complex designs
- Manipulating fibers
- Eyes, ears, and noses
- Successful needle felting
- Light touch
- Variety of colors
- Textures
- Creativity
- Step-by-step guide
- Beginners
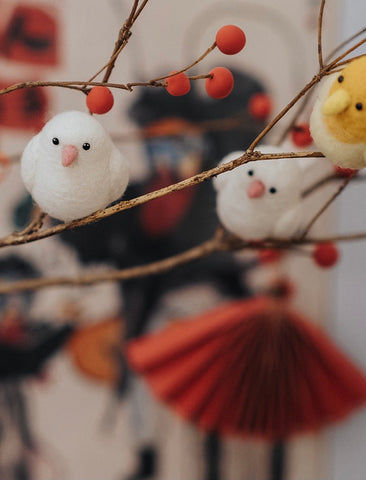
Needle felting is a popular craft that involves manipulating wool fibers to create three-dimensional shapes and designs. It is a versatile and enjoyable activity that can be done by people of all ages and skill levels. In this article, we will discuss the steps involved in making needle felt and provide some helpful tips to get you started.

starter kit with lights decor
Materials needed for needle felting:
To make needle felt, you will need the following materials:
-
Wool roving: This is the raw material used to make needle felt. It is available in a variety of colors and can be purchased online or at a craft store.
-
Felting needle: This is a special type of needle used to compress and manipulate the wool fibers. Felting needles are available in different sizes and can also be purchased online or at a craft store.
-
Foam pad: This is a soft foam pad that is used as a work surface for needle felting. It helps protect your fingers and the needle while you work.

Step-by-Step guide to making needle felt:
-
Choose a design: The first step in making needle felt is to choose a design. You can create anything you like, from simple shapes like hearts and stars to more complex designs like animals and characters.
-
Prepare the wool: Once you have chosen a design, you need to prepare the wool. Take a small amount of wool roving and roll it into a ball or other desired shape. Make sure to keep the fibers loose and fluffy.
-
Begin felting: Place the wool shape on the foam pad and begin felting with the needle. Start by poking the needle into the wool in a straight up and down motion. This will compress the fibers and start to create the desired shape.
-
Shape the wool: As you continue to needle felt, you can shape the wool by manipulating the fibers with your fingers. Use the needle to add more fibers where needed and remove excess fibers where necessary.
-
Add details: Once you have the basic shape of your design, you can add details like eyes, ears, and noses. Use smaller pieces of wool roving and the needle to attach them to the main shape.
-
Finish the piece: When you are happy with your needle felt creation, you can finish it by gently pulling and stretching the fibers to smooth out any rough spots. Your piece is now complete!
Tips for successful needle felting:

Electric needle felting machine
-
Start with simple designs and work your way up to more complex ones.
-
Use a light touch when felting. The more you poke the wool with the needle, the more compacted it will become.
-
Take breaks and stretch your hands and fingers often to prevent strain.
-
Use a variety of wool colors and textures to create depth and interest in your designs.
-
Have fun and experiment with different shapes and techniques.
In conclusion, needle felting is a fun and rewarding craft that anyone can enjoy. With a few basic materials and some practice, you can create beautiful and unique designs that will impress your friends and family. So why not give needle felting a try today and see where your creativity takes you!