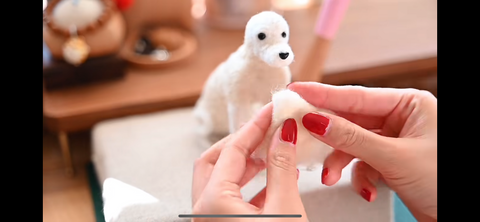
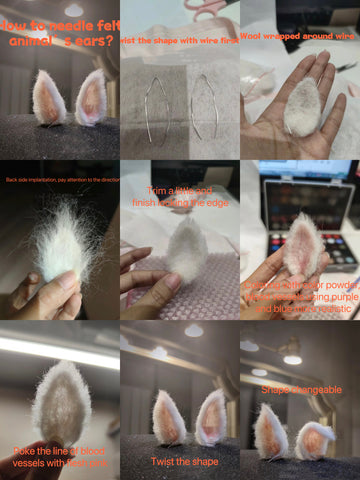
Tutorials of needle felting dog by me
Needle felting is the most incredibly addictive craft. How to Needle Felt for Beginners: Dos and Don'ts Top Tips for Starting Needle FELTING It is very simple to start, very simple to learn the fundamentals, completely sustainable, and you can create anything you want. From seasonal DIY decorations, handmade gifts, or just some quiet time away from the day's activities.
These simple hints, hints, and mini-tutorials will help you avoid common mistakes before you even begin needle felting.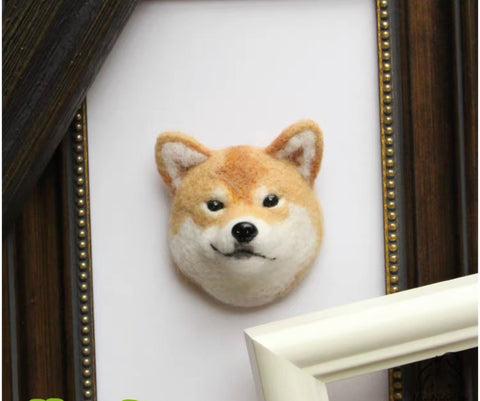
needle felted animals kit with tutorials
Follow these steps and allow yourself to be a beginner. Before you start, keep in mind that most of us are conditioned to believe that being wrong is bad, which is not true. Before we get into my super-easy, thirteen-step guide to starting needle felting, here are a few easy mini-tutorials. Errors indicate that we are learning, and trust me, I am clearly learning a lot.
Safety with Felting Needles Needles are extremely sharp, so keep your fingers away from them and, if necessary, wear finger guards.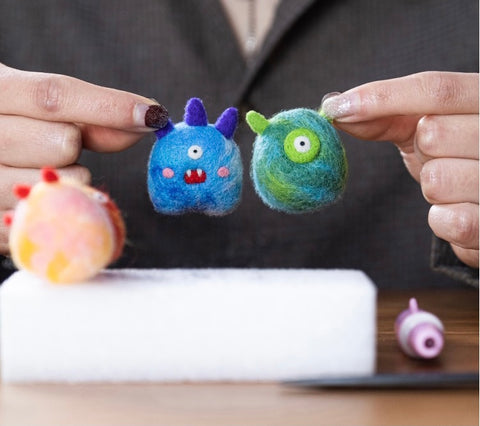
Start with some basic body shapes—whether animal, mineral, or vegetable—this is where most needle felting projects begin.
Follow my 14-step guide to getting it right the first time if you're just starting out or want to improve your skills in needle felting.
1 -Firm is the key to successful 3D needle felting. Although it is not particularly hard, it still springs back when squeezed, particularly in the legs and the head.
2: Before beginning to needle felt, roll body parts very tightly. This will, I promise, greatly shorten your needle felting time, giving you more time to...well, needle felt, of course.
Try a SUPER SIMPLE NEEDLE FELTED Ball with this short tutorial. Creating a firm core by tying a few knots in the middle will save a lot of felting time and make shaping the ball easier; For instructions, click on the image.
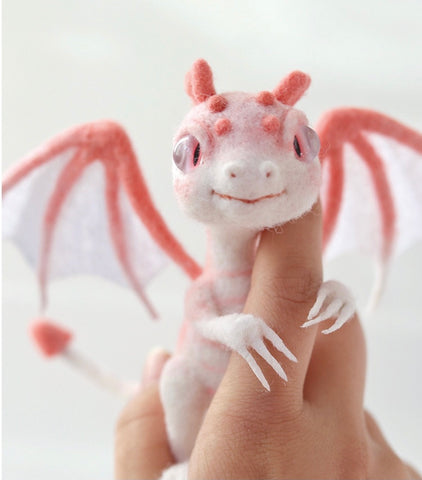
3: Needle felting involves a brief stab into the wool. When 3D felting, your needle should not disappear into the foam block and should barely penetrate the foam.
4: Turn whenever you felt a 3D part of your body. This will give your structure its shape and keep your finished product from having "dimples."
5: Start with less money than you anticipate needing; Wool can be added to your shape to make it bigger, but you can't take it out! Legs are the only exception to this; if the limb or head has been attached incorrectly, upside down (put on your glasses!). etc. then reposition or rework the item by gently unpicking it with a pin. I guarantee that your felting needle will break if you attempt to unpick. You will spend the next thirty minutes locating the end of a good needle before the dog eats it or, even worse, sits on it! 6-Your 3D body part will be approximately 30% smaller than the shape you started with when it is fully felted; this is not the end you want to be playing with. Unless you have felted a rock to the point where it is 75 percent smaller and can be used as a dangerous weapon, do not move your needle at an angle. Instead, move it straight up and down. The needle's tip will break off if you bend it.
TAKE YOUR TIME 8 – This is a difficult request, I know, but be patient. Give yourself time to study. This is not a sprint; it is a walk. You are not going to become Sarafina overnight (Google "Gods of the needle felting world"), and you are learning a new craft rather than performing surgery; therefore, take pleasure in it. Once you've finished one project, you'll be on your way to the next one quickly!
9 – Generally, your project won't look like what you're trying to make until at least the third of the way through. At that point, you'll hit the "how on earth is this ever going to look like that" wall, which you'll have to fight through with tenacity. Everyone, whether an experienced felter or a complete novice, feels exactly the same when everything comes together near the end. The devil is in the details, and you can take away, change, and add to anything you make. Alternately, you could step away from it for some time and then look at it with new eyes or with new information or ideas. There are a lot of them on the internet, and Pinterest is the largest free craft magazine in the world.
WHAT DO YOU DO IF IT DOES NOT LOOK LIKE YOU IMAGINED IT TO?
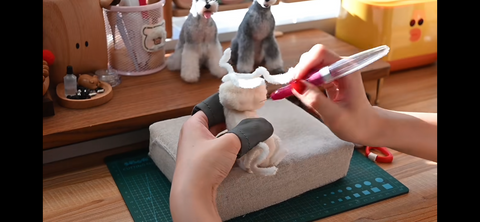
Sometimes you'll get to the end and it won't look like you imagined it would. Take care of it and don't let it ruin your day; whatever you create will be yours and wonderful! Character is enhanced by the lopsided leg and wacky ears. Take advantage of it and keep in mind everything you just learned so you can apply it to the next project.
B.T.W. Every needle felter has a collection of floppy "Frankenstein" body parts that are just waiting to be incorporated into another project. I refer to them as "limbs in limbo." NEEDLE FELTING KITS FOR COMPLETE BEGINNERS TO ADVANCED FELTERS Since 2014, I have created and designed needle felting kits and taught workshops both in person and online. They have everything you need, including tools, accessories, carefully selected wool, extremely in-depth instructions, and video tutorials. There are more than sixty inspiring kits to choose from, so there is something for everyone's skill level and taste. Projects can take anywhere from one hour to six hours.
10 – EXCLUSION: Making needle felt is very addictive! It has the potential to cause obsessive creativity. As a result, I cannot be held accountable for pets, children, and other members of the family who are starving.
11: The word "housework" will literally become derogatory (see number 10).
12: Pets adore wool to the hilt. They love nothing more than to destroy your beautiful creation, which you have worked so hard on. Store far away from the little darlings if you don't want the sad demise of many poor "felties" to become your story.
13 - Practice makes perfect, and I enjoy pieces with straightforward shapes; Once you have the shape you want, you can do so much with them. Before attempting a more difficult piece, practice correctly forming the fundamental shapes because you shouldn't expect to succeed the first time. Please don't start running before you can walk, and don't compare your first few felts to those of someone who has felted for years.
SAME TECHNIQUE, DIFFERENT SIZE The Herdwick sheep's head and body are the same shape, but they are different sizes. Those basic shapes have become something really special when basic features are added and the body is covered in gorgeous curly locks!
14: Get creative and take the situation by the horns; whether it's gardening, needle felting, or coloring books. It really has no bearing, and if your fear of failing is consuming you, keep this in mind: If you don't try anything, you will always fail completely. Be gentle with yourself; What are you waiting for? Watch some excellent needle felting video tutorials on my YouTube channel, Edelweissday, to get you started. There is a tutorial for everyone, from nervous beginners to self-assured needle felters, from woodland animals to flowers, gnomes, and fairies!
If you're just getting started with needle felting, these tutorials are a great place to start!
All edelweiss animals needle felting kit with video tutorials

